How to Change Yarn Color in Crochet: Easy Step-by-Step
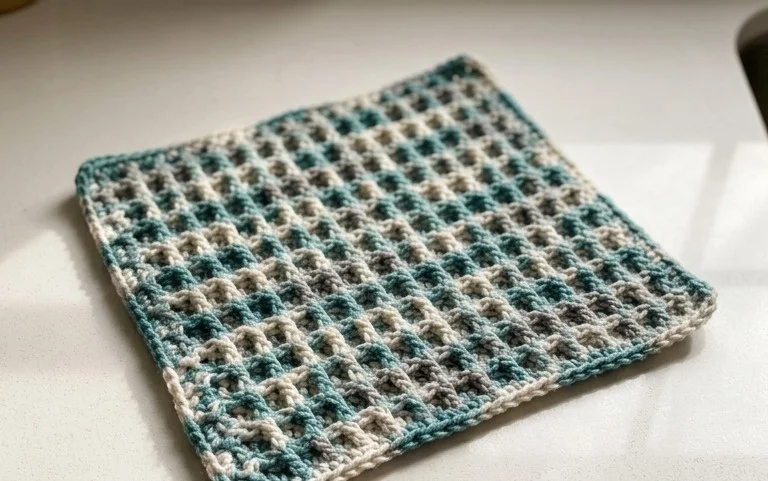
A crisp wool square brings warmth to your living room when draped over the arm of a well-worn chair. Beginners often feel intimidated by the transition between hues, fearing loose ends or visible knots in their work. This project removes that worry by focusing on the clean, invisible method of joining new yarn during the final pull-through of a stitch. You will find that mastering this technique results in a sturdy, professional fabric that looks seamless from the front and back. It transforms a simple hobby project into a tidy, impressive piece that makes every gift look handmade with genuine care.
Why You’ll Love This Pattern
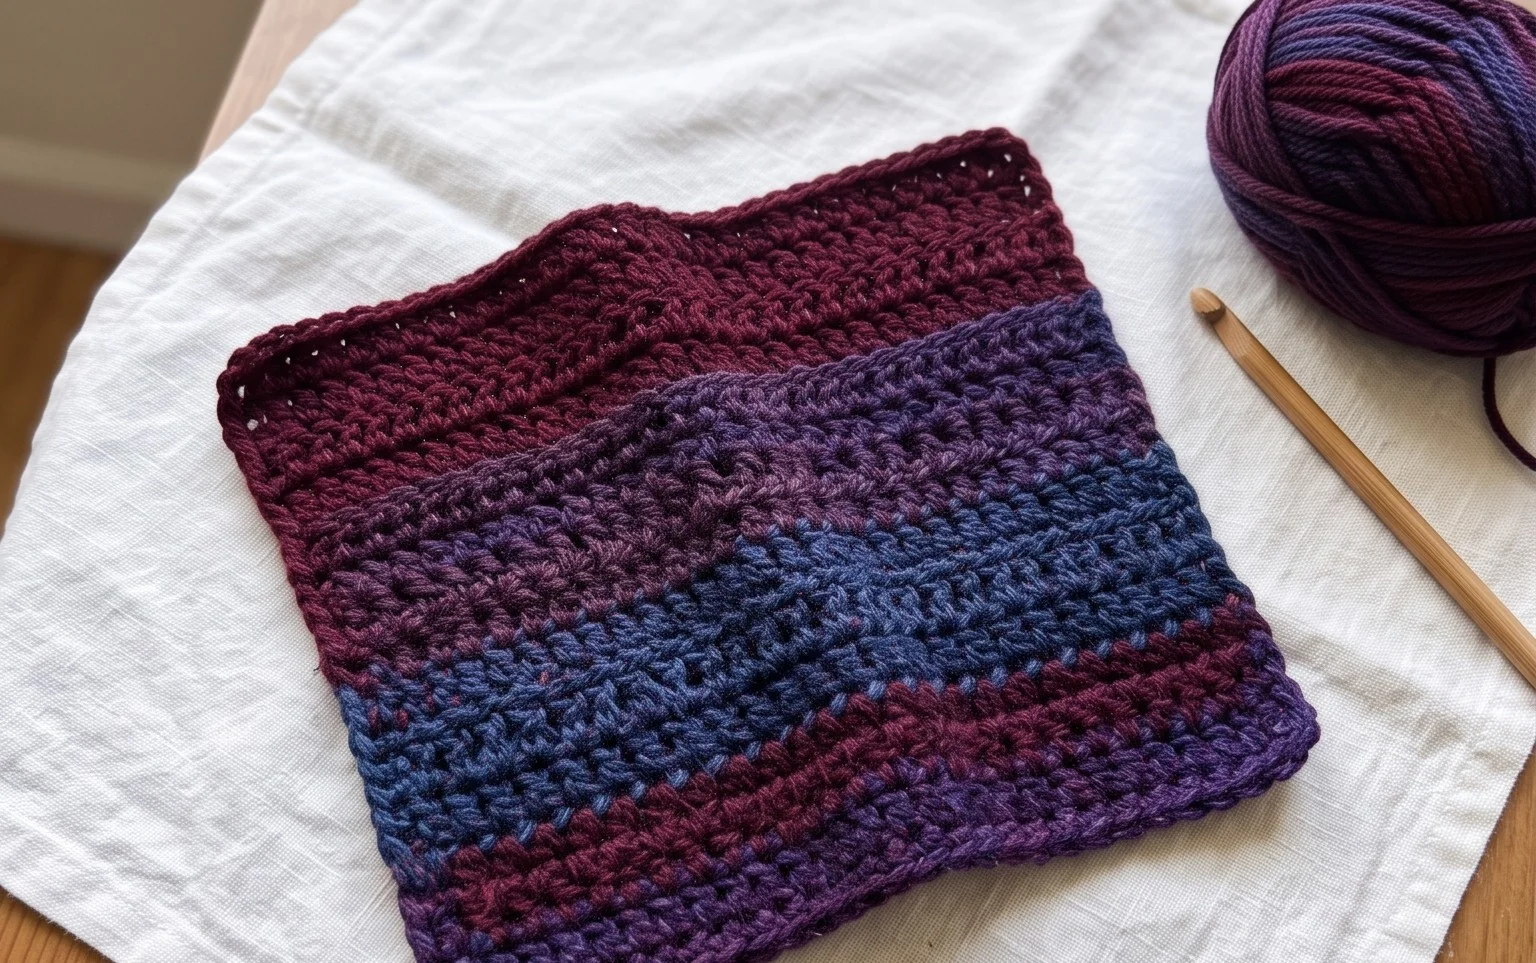
The Classic Crochet Granny Square is the quintessential building block of the craft, offering a rhythmic, meditative experience that turns small amounts of yarn into structural textile art. You will find that this pattern is exceptionally beginner-friendly, as it relies on the basic double crochet stitch and chaining to create a balanced, geometric motif. Because it is worked in rounds, it is easy to set down between sessions without losing your place. This project is also a reliable way to use up leftover yarn scraps from previous projects, allowing you to experiment with color theory and texture without committing to a full garment’s worth of material.
I finally mastered my tension while making a set of these squares for a throw blanket. The instructions are so clear that I stopped having to count every single stitch by the third round.
— Sarah, hobbyist crocheter
Pattern Overview & Skill Level
- Skill Level: Beginner
- Approximate Time: 30 to 45 minutes per square
- Construction: Working in joined rounds starting from a center point
- Finished Dimensions: Approximately 5 inches by 5 inches using standard worsted weight yarn
Materials & Supplies Needed
- Yarn: Worsted weight (#4), wool or acrylic blend, approximately 20 yards per square.
- Hook Size: 5.0 mm (US H-8) crochet hook.
- Notions: Tapestry needle for weaving in ends, sharp scissors.
- Yarn Substitutions: You can use DK weight yarn for a smaller, more delicate square, though you will need to increase the number of rounds to reach the same size. Using bulky yarn will result in a larger, thicker square that works well for floor cushions or heavy blankets.
Stitch Guide & Abbreviations (US Terms)
- ch: chain
- sl st: slip stitch
- dc: double crochet
- dc-cluster: a group of 3 dc stitches worked into the same space
- sp: space (the gap created by previous chains)
- st/sts: stitch/stitches
Step-by-Step Pattern Instructions
Granny Square Base
This pattern is worked in rounds. Each round is joined with a slip stitch to the top of the first stitch of that round.
- Rnd 1: Start with a magic ring or ch 4 and sl st to the first ch to form a loop. Ch 3 (counts as first dc), work 2 dc into the ring, ch 2. Work 3 dc into the ring, ch 2 3 times. Join with a sl st to the top of the beginning ch 3. (12 sts, 4 ch-2 spaces)
- Rnd 2: Sl st into the next 2 sts and into the first ch-2 space. Ch 3, 2 dc, ch 2, 3 dc all into the same ch-2 space. Ch 1, skip 3 sts, (3 dc, ch 2, 3 dc) into the next ch-2 space 3 times. Ch 1, join with sl st to the top of the beginning ch 3. (24 sts, 4 ch-2 corners, 4 ch-1 spaces)
- Rnd 3: Sl st into the next 2 sts and into the next ch-2 corner space. Ch 3, 2 dc, ch 2, 3 dc in same sp. Ch 1, 3 dc in the next ch-1 space, ch 1, (3 dc, ch 2, 3 dc) in the next ch-2 corner space 3 times. Ch 1, 3 dc in final ch-1 space, ch 1, join with sl st to the top of the beginning ch 3. (36 sts)
- Rnd 4: Continue in established pattern, placing (3 dc, ch 2, 3 dc) in each corner space and 3 dc in each side ch-1 space, with ch 1 between every cluster. (48 sts)
Finishing
After reaching your desired size, fasten off by cutting the yarn, leaving a 6-inch tail. Pull the tail through the final loop and pull tight. Use your tapestry needle to weave the tail through the back of the stitches to secure it, ensuring the end is hidden within the color-matching yarn.
Care & Washing Instructions
- Hand wash your finished squares in cool water with a mild wool-safe detergent to maintain fiber integrity.
- Lay the squares flat on a clean towel to air dry, avoiding direct heat or sunlight that might fade the colors.
- Block your squares by pinning them to a foam mat while damp to ensure perfectly straight edges and consistent dimensions.
Pro Tips & Common Mistakes to Avoid
- Maintain consistent tension: Keep your yarn tension relaxed, especially on the chains, to prevent the square from pulling inward or puckering.
- Use a stitch marker: Place a stitch marker in the top of your beginning ch-3 at the start of every round so you know exactly where to join at the end.
- Weaving ends: Weave your ends in multiple directions—horizontally, vertically, and diagonally—to ensure the yarn stays locked in place through years of use.
- Adjusting size: You can make the square as large as you want by adding more rounds, but remember that each subsequent round will require significantly more yarn than the last.
Frequently Asked Questions
Can I use different types of yarn in the same blanket?
Yes, but ensure all yarns are of the same weight category. Mixing fiber types like wool and acrylic can cause uneven shrinkage if the blanket is washed, so check the labels for care requirements.
Is this pattern suitable for complete beginners?
Absolutely. It only requires knowing how to chain, slip stitch, and double crochet, making it the ideal first project for learning how to crochet in the round.
How do I join these squares together?
You can join squares using a whip stitch along the back loops for an invisible seam, or use a slip stitch join through both loops to create a decorative, raised ridge between squares.
Can I sell items made from this pattern?
Yes, you are welcome to sell finished products made from this pattern. Please credit the design to this tutorial and use your own photographs of your completed work.
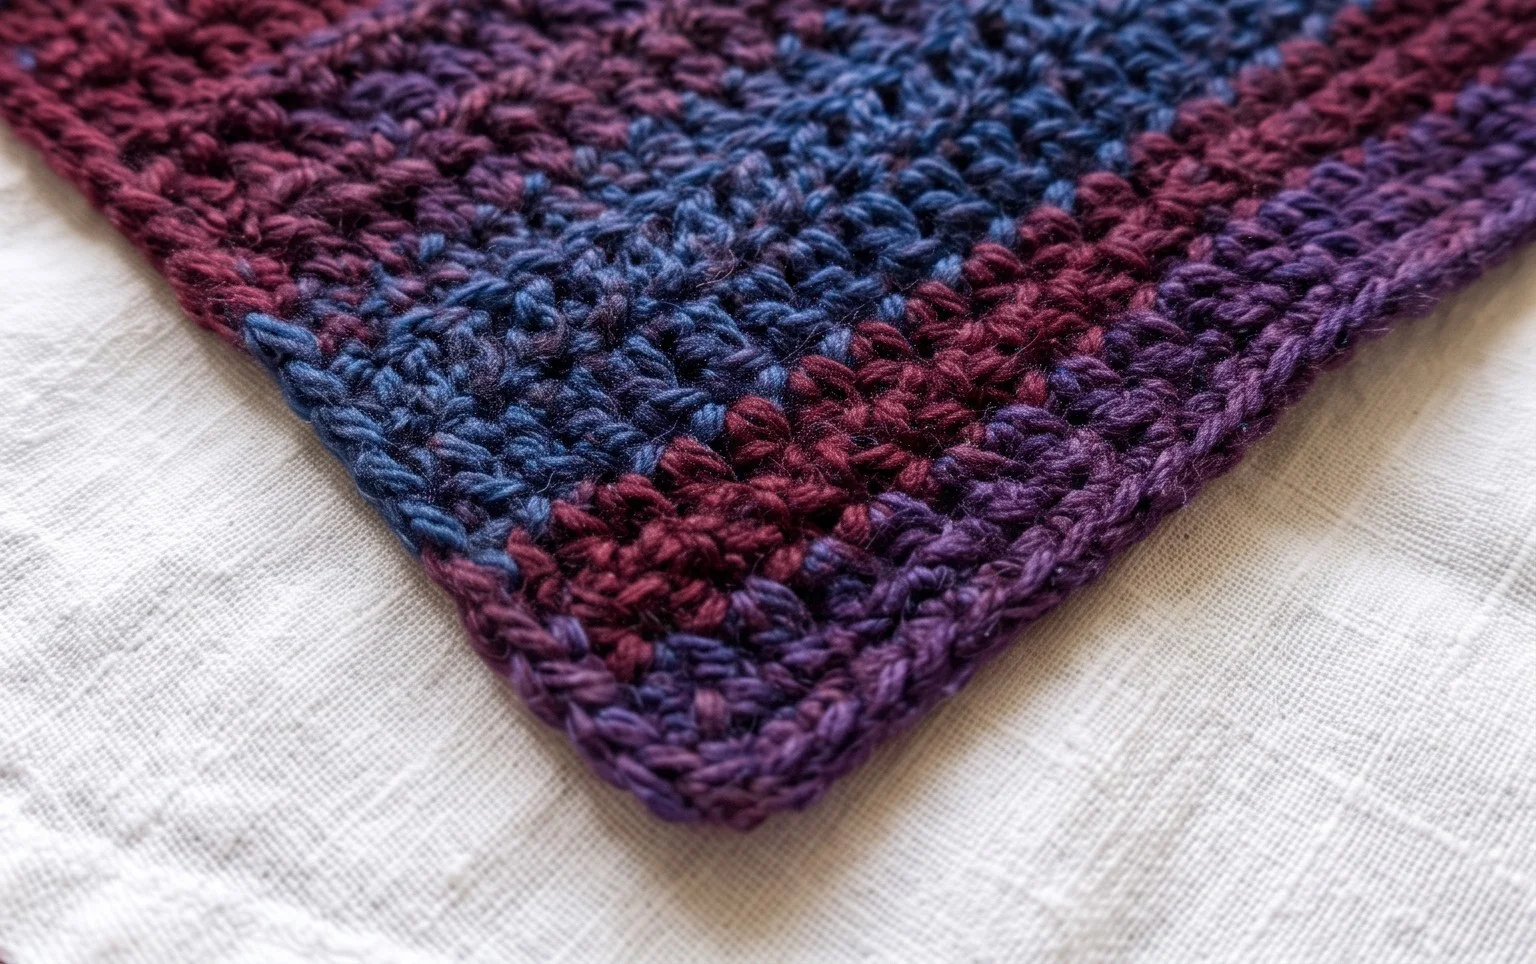
Your finished square looks polished with its crisp color transitions and neat, hidden ends. If you want to expand your work, try swapping the wool blend for a cotton yarn to create a firmer texture for kitchen coasters or a larger modular throw. Posting a photo of your work on Instagram or sharing it on your favorite social media board connects you with other makers who enjoy refining their skills. Take a moment to browse the rest of the blog for more free patterns to build your collection.