How to Crochet a Hat: Beginner Easy Free Pattern Guide
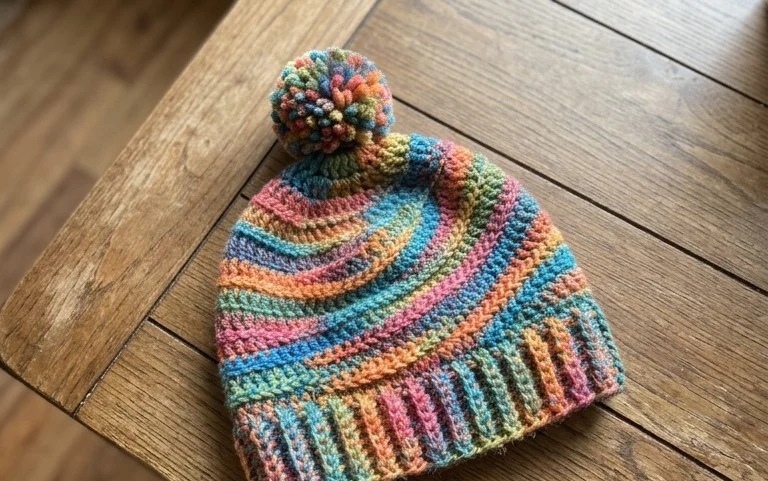
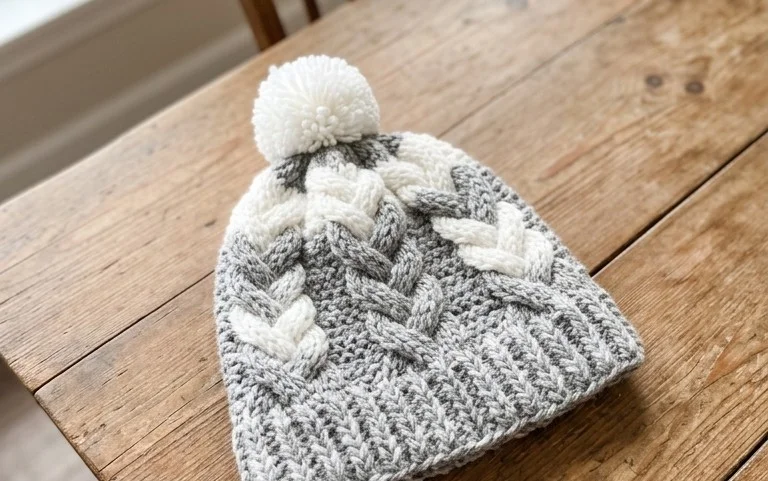
Soft wool against your forehead makes a chilly morning walk much more manageable. This ribbed beanie has a squishy, fabric-like thickness that keeps ears warm while holding its shape through the entire winter season. It serves as a grounded project for makers who want to finish a functional gift in just one evening of work. You will learn to control the density of your work by hooking through only the back loops of every stitch. This technique creates a professional, stretchy finish that hides any small inconsistencies in your tension, which makes it a rewarding starting point for those new to crafting clothing.
Why You’ll Love This Pattern
This crochet ribbed beanie relies on a simple repeating pattern of single crochet stitches worked in the back loops, creating a stretchy, fabric-like texture that fits comfortably on most adult heads. Because it is worked as a flat rectangle and then seamed, you do not need to manage complex shaping or worry about maintaining tension in the round. The density of the ribbing ensures warmth during colder months while maintaining enough flexibility to prevent the hat from feeling tight. It is an ideal project for using up partial skeins of medium-weight yarn leftover from larger blankets or sweaters.
I finished this hat in two sittings while watching a movie. The instructions were easy to follow and the ribbing looks professional even though it was my first time working in the back loops only.
— Sarah, beginner crocheter
Pattern Overview & Skill Level
- Skill Level: Beginner
- Approximate Time: 3 to 4 hours
- Construction: Worked flat in rows as a rectangle, then seamed to form a tube with one end cinched closed.
- Finished Dimensions: 9 inches wide by 11 inches tall (laying flat, unfolded).
Materials & Supplies Needed
- Yarn: Worsted weight (#4), wool or acrylic blend, approximately 200 yards.
- Hook Size: 5.0 mm (US H-8).
- Notions: Tapestry needle for seaming, scissors, and a measuring tape.
- Safe Yarn Substitutions: Cotton yarn will result in a heavier, less stretchy hat. If using cotton, go up one hook size to 5.5 mm to maintain the necessary drape. Wool blends provide the most elasticity and heat retention.
Stitch Guide & Abbreviations (US Terms)
- ch: chain
- sc: single crochet
- st: stitch
- BLO: back loop only (insert hook under only the back strand of the stitch)
- sl st: slip stitch
- FO: fasten off
Step-by-Step Pattern Instructions
Hat Body
The hat is worked in rows. You will chain 45 to determine the height of the hat. Adding or subtracting chains here will adjust the brim length if you prefer a slouchier or tighter fit.
- Row 1: Ch 46, sc in 2nd ch from hook and each ch across. Ch 1, turn. (45 sts)
- Row 2: Sc in BLO of each st across. Ch 1, turn. (45 sts)
- Rows 3–70: Repeat Row 2 until the piece measures approximately 18 inches unstretched.
- Finishing the body: Do not fasten off after the final row.
Assembly
- Fold the rectangle in half so the short ends meet.
- With the right side facing out, sl st through the BLO of the last row and the foundation chain of the first row simultaneously to join the two edges into a tube.
- Cut the yarn, leaving an 8-inch tail. Thread the tail onto your tapestry needle.
- Weave the yarn in and out of the ends of every other row along the top edge of the tube.
- Pull the yarn tail tight to cinch the top of the hat closed. Secure with a knot on the inside.
- Weave in all remaining ends securely to ensure the seam does not unravel with wear.
Care & Washing Instructions
- Hand wash in cool water using a gentle wool detergent to preserve the shape and fiber integrity.
- Lay the hat flat on a dry towel, patting it into its original shape to air dry away from direct heat sources.
- Avoid using a tumble dryer, as heat will cause the yarn to shrink or lose its natural elasticity.
Pro Tips & Common Mistakes to Avoid
Maintain consistent tension throughout the project by keeping your yarn flow steady. If your rows start to shrink in width, you are likely pulling your yarn too tightly on the turning chain. Use a stitch marker on the first stitch of every row to ensure you do not accidentally skip stitches, which would cause the edges of your rectangle to taper. When joining the seam, ensure you are catching both the foundation chain and the back loop of the final row; otherwise, the seam will look bulky or reveal gaps. To adjust the size, simply add or subtract rows of ribbing before seaming; every 4 rows adds roughly 1 inch to the circumference.
Frequently Asked Questions
Can I use a larger hook for this pattern?
Using a larger hook will make the fabric looser and potentially less warm. If you find your tension is very tight, you may move up to a 5.5 mm hook, but be aware you may need more yarn.
Is this pattern suitable for complete beginners?
Yes, this is an excellent starter project. It uses only one basic stitch, the single crochet, and requires no increasing or decreasing, which are often the most difficult parts of learning to crochet.
How do I make the hat longer?
Simply increase the starting chain length. Each additional chain increases the height of the hat by approximately 0.5 inches.
Am I allowed to sell hats made from this pattern?
You may sell items created from this pattern, but please credit the original design and provide a link back to this tutorial when listing your products online.
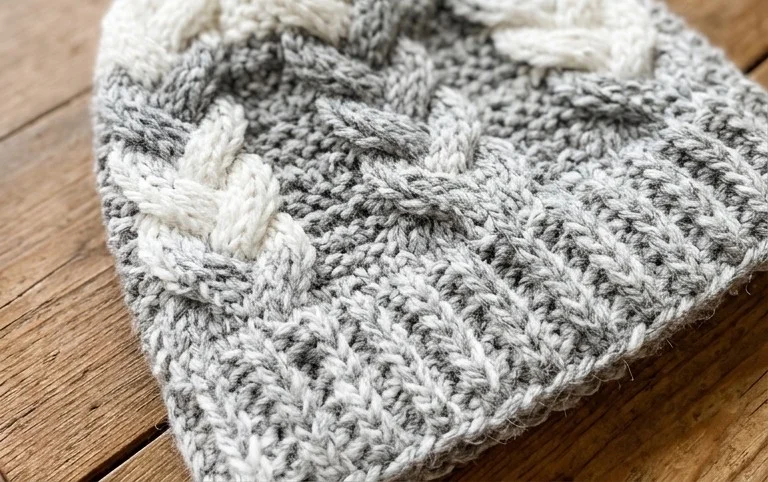
Seeing your handmade hat finished and ready to wear is a satisfying reward for your effort. You can switch to a variegated yarn to add visual interest without changing the stitch count, or scale the starting chain up by two inches if you prefer a slouchier fit. Post a picture of your finished work on social media so others can see your color choice in action. Check the rest of the blog for more free patterns that use similar weight yarns and simple shaping techniques.