20 Best Crochet Stitches for Beginners: Free Pattern
A cozy, hand-knit look defines this simple ribbed beanie, which feels thick enough to keep out the biting winter air yet light enough for spring afternoons. It relies on a classic back-loop-only technique to build ridges that look professionally made, making this an accessible project for those just picking up a hook. You will find that working this flat rectangle goes quickly while sitting on the couch, requiring little more than repetitive half double crochet stitches. This pattern suits anyone wanting a quick gift or a personal staple piece. Learning these foundational movements will give you the confidence to tackle more advanced textures later on.
Why You’ll Love This Pattern
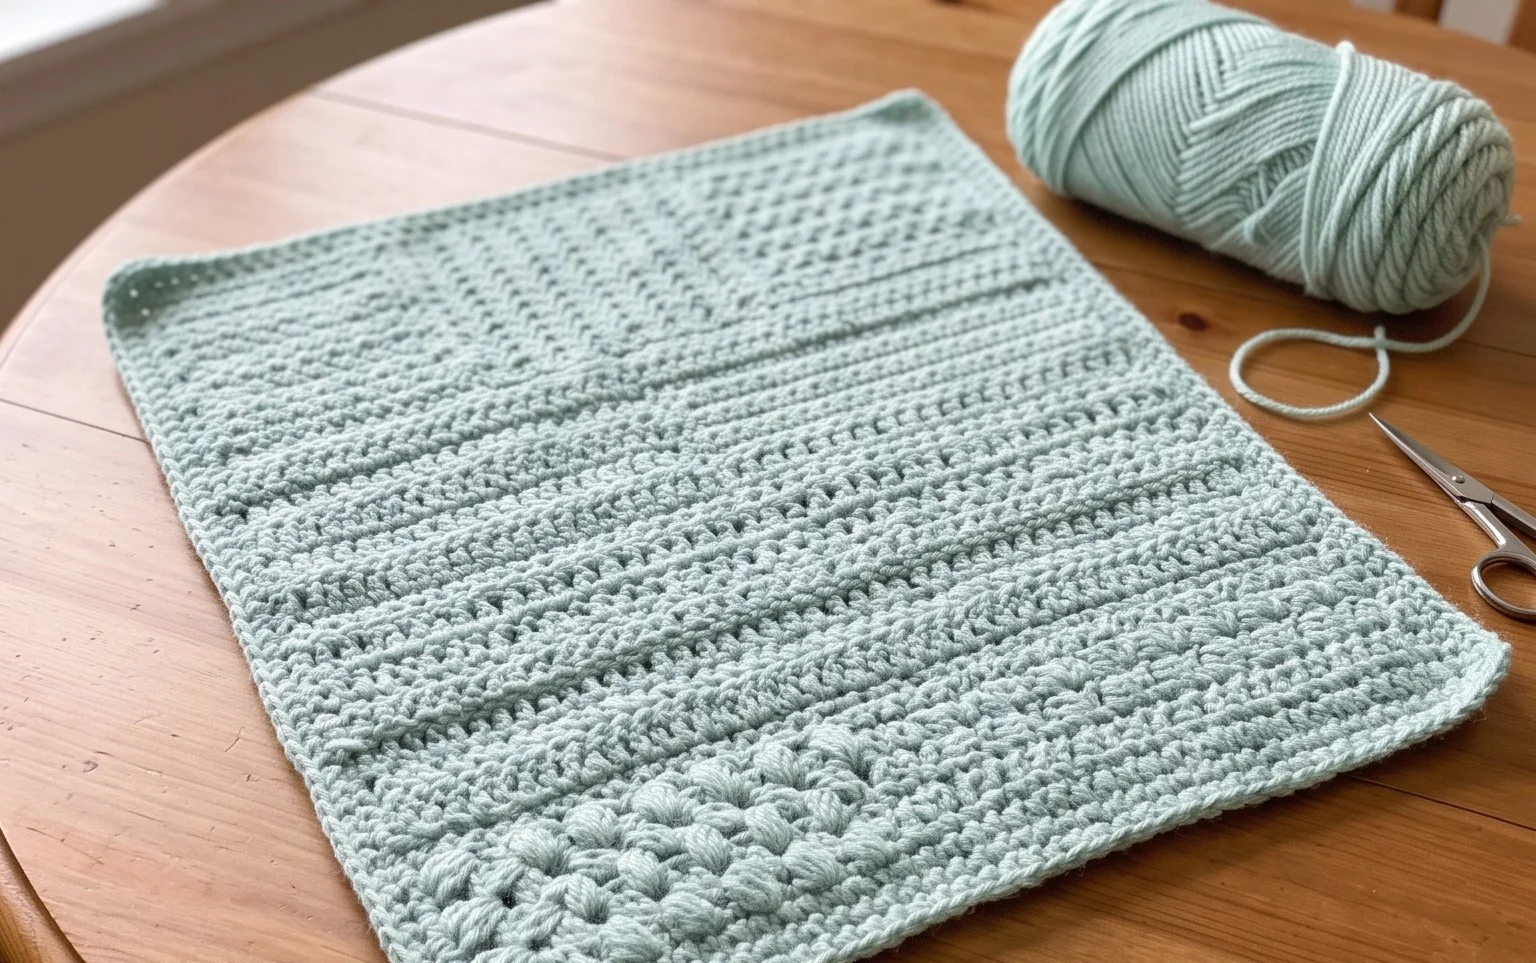
This crochet ribbed beanie pattern utilizes a simple back-loop-only technique that creates a professional, store-bought look with minimal effort. It works up quickly using half double crochet stitches, making it an ideal choice for last-minute gifts or stocking up for chilly winter days. Because the hat is constructed as a flat rectangle and then seamed, you do not need to worry about complex crown decreases or counting stitches in the round. The resulting fabric is stretchy, dense enough to block the wind, and fits comfortably on most adult heads.
I finished this hat in two evenings while watching television. The texture is soft and the fit is exactly what I wanted for a slouchy look.
— Sarah, casual crafter
Pattern Overview & Skill Level
- Skill Level: Beginner
- Approximate Time: 3 to 4 hours
- Construction: Worked flat in rows to create a rectangle, then seamed at the side and gathered at the top.
- Finished Dimensions & Sizing: 18 inches circumference (unstretched) by 10 inches tall. Fits most adult heads from 20 to 23 inches.
Materials & Supplies Needed
- Yarn: Worsted weight (#4) acrylic or wool blend, approximately 200 yards.
- Hook Size: 5.5 mm (US I-9).
- Notions: Large eye tapestry needle for seaming and weaving ends, a pair of scissors, and a measuring tape.
- Safe yarn substitutions: You can use a DK weight yarn, but you will need to increase the starting chain length to ensure the hat fits the head correctly. Using a 100% cotton yarn will result in less elasticity, so you may need to add more width to the rectangle to ensure a comfortable fit.
Stitch Guide & Abbreviations (US Terms)
- ch = chain
- hdc = half double crochet
- BLO = back loop only (insert hook under only the back strand of the stitch)
- st/sts = stitch/stitches
- sl st = slip stitch
Step-by-Step Pattern Instructions
Main Body Panel
- Row 1: Ch 41. Hdc in the second ch from hook and in each ch across. (40 sts)
- Row 2: Ch 1, turn. Hdc in the BLO of each st across. (40 sts)
- Rows 3 to 60: Repeat Row 2 until the piece measures 18 inches wide when laid flat.
Assembly and Finishing
- Seaming: Fold the rectangle in half, matching the short ends together. Slip stitch or sew the edges together through both layers to form a tube. Do not fasten off after the final stitch.
- Gathering the Crown: Cut a 12-inch tail of yarn. Using your tapestry needle, weave the tail in and out of every other row end along the top edge of the tube. Pull the yarn tail tight to cinch the top of the hat closed.
- Securing: Once the top is cinched shut, sew back and forth across the opening several times to ensure it is secure. Knot the yarn and weave the remaining ends into the inside of the fabric.
Care & Washing Instructions
- Hand wash in cool water using a gentle wool-safe detergent to preserve the fibers.
- Lay the beanie flat on a towel to dry, avoiding direct heat sources that might shrink or warp the shape.
- Reshape the hat while damp if it feels slightly compressed from storage or packing.
Pro Tips & Common Mistakes to Avoid
- Consistent Tension: Keep your hand tension even throughout the rows to prevent one side of the hat from looking wavier than the other.
- Stitch Markers: Place a stitch marker in the first and last stitch of every row to ensure you are not accidentally dropping or adding stitches, which keeps your rectangular edges perfectly straight.
- Invisible Seaming: When joining the two short sides, use a mattress stitch rather than a slip stitch if you prefer a flatter, less visible seam that blends into the ribbing.
- Adjusting Size: You can easily adjust the height of the hat by changing the length of your starting chain. Adding more chains will make the hat longer and more slouchy, while fewer chains will result in a tighter, beanie-style fit. Remember that larger hats will require slightly more yardage.
Frequently Asked Questions
Can I substitute the worsted weight yarn for a bulky yarn?
Yes, but you will need to adjust your starting chain length to compensate for the thicker gauge. Fewer chains will be required to reach the same height, and the resulting fabric will be significantly warmer and stiffer.
Is this pattern suitable for complete beginners who have never crocheted?
Yes, this is an excellent first project because it relies on the half double crochet stitch, which is tall enough to grow quickly but easy to manage. The repetitive nature of the rows helps you practice tension control without needing to change techniques.
Can I sell the finished hats I make using this pattern?
Please check the original design source or contact the creator directly. While many designers allow for the sale of finished items, always credit the designer in your product listings.
How do I prevent the seam from looking bulky?
Ensure you are using the back loop only technique consistently and try using a slightly smaller hook size for the final joining row. This helps pull the stitches closer together and makes the transition across the seam less noticeable.
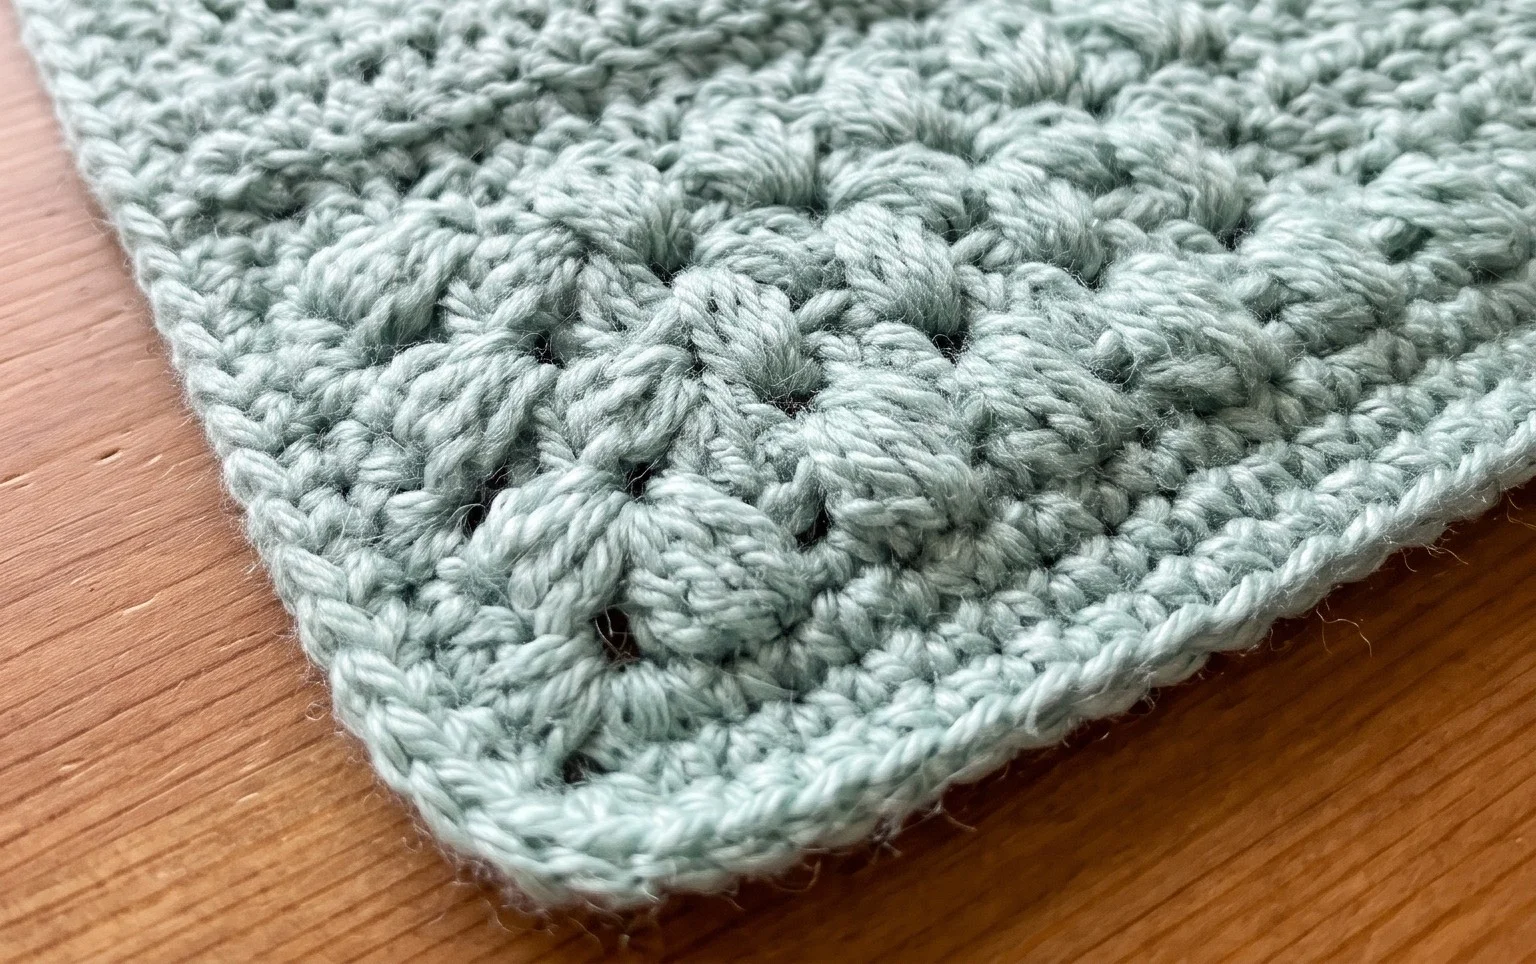
Your finished beanie provides a snug and warm fit that highlights the clean lines of the simple ribbing. You might try crafting a second version using a variegated yarn for a pop of color or adjusting the starting chain by an extra inch if you prefer a looser, more relaxed silhouette. Please snap a photo of your work and share it on your favorite social feed so others can see your progress. Feel free to browse through the rest of the site for more free patterns to fill your weekend afternoons.