Easy Christmas Crochet Patterns: 10 Free Gift Projects
Stiff cotton yarn creates a pouch with a sturdy, structured shape that stands upright on any flat surface, making it a reliable organizer for your home. You will feel the satisfying tension of the single crochet stitch as you work in spirals, building a dense fabric that keeps contents like stitch markers or small trinkets securely tucked away. These projects offer a relaxing way to spend a chilly afternoon, especially when you need thoughtful handmade gifts for friends. This collection introduces you to essential shaping techniques for home decor, focusing on clean lines and functional design for every maker.
Why You’ll Love This Pattern
Creating a classic crochet drawstring pouch is a satisfying way to practice working in continuous rounds while building a functional accessory for your home or gift-giving. This project uses basic single crochet stitches, making it an excellent choice for a low-stress evening of crafting. Because the pattern relies on a sturdy, tight stitch, the finished result is durable enough to hold small treasures, jewelry, or even sewing notions. The adjustable drawstring closure ensures your items stay secure, and the minimal yardage required means you can easily complete this using leftovers from other projects.
I managed to finish this pouch in a single afternoon, and it has become the perfect home for my stitch markers and measuring tape. The instructions were very clear and easy to follow even for someone who is still getting the hang of working in spirals.
— Sarah, hobbyist crafter
Pattern Overview & Skill Level
- Skill Level: Beginner
- Approximate Time: 2 to 3 hours
- Construction: Worked in continuous rounds from the base up to the drawstring eyelet row, finished with a simple foundation chain cord.
- Finished Dimensions: Approximately 4 inches in diameter and 5 inches in height when lying flat.
Materials & Supplies Needed
- Yarn: Worsted weight (#4) cotton yarn, approximately 60 yards. Cotton provides a crisp stitch definition and holds the pouch shape well.
- Hook Size: 4.5 mm (US size 7) or a hook that produces a tight gauge to prevent items from falling through gaps.
- Notions: Tapestry needle for weaving in ends, a locking stitch marker to track the start of each round, and scissors.
- Yarn Substitutions: You may use an acrylic worsted weight yarn for a softer, more pliable pouch, though acrylic will stretch more than cotton over time. Avoid bulky yarns, as they will make the drawstring eyelets too large.
Stitch Guide & Abbreviations (US Terms)
- ch: chain
- sc: single crochet
- inc: increase (work 2 sc in the same stitch)
- sl st: slip stitch
- st(s): stitch(es)
- YO: yarn over
- MR: magic ring (or alternative: ch 3 and join with sl st to form a ring)
Step-by-Step Pattern Instructions
Pouch Base and Body
- Rnd 1: Start with a MR, work 6 sc into the ring. (6 sts)
- Rnd 2: Work 2 sc in each st around. (12 sts)
- Rnd 3: 1 sc, inc repeat from * to * around. (18 sts)
- Rnd 4: 1 sc in next 2 sts, inc repeat from * to * around. (24 sts)
- Rnd 5: 1 sc in next 3 sts, inc repeat from * to * around. (30 sts)
- Rnd 6: 1 sc in next 4 sts, inc repeat from * to * around. (36 sts)
- Rnd 7: Working in the back loops only (BLO), sc in each st around. (36 sts)
- Rnds 8-20: Sc in each st around, working through both loops. (36 sts)
Eyelet Row and Finishing
- Rnd 21: Ch 2 (counts as first dc), skip next st, dc in next st, ch 1, skip next st repeat from * to * until end of round, join with sl st to top of ch 2. (18 dc spaces)
- Rnd 22: Sc in each st and ch space around. (36 sts)
- Fasten off and weave in all yarn tails securely.
- Drawstring: Make a chain approximately 15 inches long. Fasten off and weave the cord through the eyelet row (Rnd 21), weaving in and out of the spaces created. Tie the ends together in a secure knot.
Care & Washing Instructions
- Hand wash your finished pouch in cool water with a gentle detergent to maintain the integrity of the cotton fibers.
- Lay the item flat on a clean towel and reshape it to its original dimensions before allowing it to air dry completely.
- Avoid using bleach or high-heat drying, as these can weaken the yarn and lead to unnecessary stretching or discoloration.
Pro Tips & Common Mistakes to Avoid
- Tension control is vital for a pouch. If your stitches look loose and gappy, consider dropping down half a hook size to ensure the pouch walls are dense.
- Always place a stitch marker in the first stitch of every round. Working in a continuous spiral makes it very easy to lose your place if you aren’t tracking the start of each round.
- When weaving in ends, run the tapestry needle through the back of the stitches in several directions. This prevents the ends from popping out after the pouch has been used and stretched.
- You can adjust the size of the base by adding more increase rounds (e.g., 1 sc in next 5 sts, inc for 42 stitches), but remember that this will require more total yarn and will change the overall proportions of the pouch.
Frequently Asked Questions
Can I use a different weight of yarn for this project?
Yes, but changing the yarn weight will significantly alter the final size of the pouch. If you use a thinner yarn, you will need to add more increase rounds at the base to reach the desired diameter.
Is this project suitable for absolute beginners?
This pattern is ideal for those who have mastered the basics of holding a hook and creating a chain and single crochet. It introduces working in rounds and simple eyelet placement without requiring complex stitch patterns.
How do I adjust the drawstring length?
The drawstring length is purely personal preference. You can chain as many stitches as you like until the cord reaches your desired length; just ensure it is long enough to fully open the mouth of the pouch when untied.
May I sell the items I make using this pattern?
Yes, you are welcome to sell finished items made from this pattern, provided you credit the design. Please do not redistribute the pattern text itself, and always use your own photographs of your work.
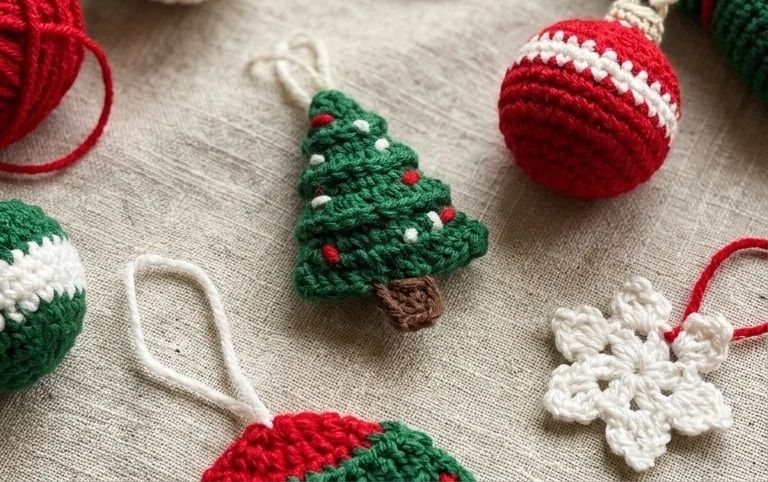
Your finished drawstring pouch brings a tidy touch to your craft table while keeping all your small tools within reach. You can swap the worsted cotton for a soft wool blend if you want a squishier feel or try using variegated yarn to add a playful pop of color to the base. Please share your final piece on your favorite social media platform so others can see your color choices. Browse our full archive for more free holiday designs to continue your winter crafting journey today.